本文最后更新于:2024年5月11日 上午
Servlet映射
Servlet中的Mapping
1、一个servlet可以映射到多个URL上
1
2
3
4
5
6
7
8
9
10
11
12
13
14
|
<servlet>
<servlet-name>helloServlet</servlet-name>
<servlet-class>com.liu.servlet.helloServlet</servlet-class>
</servlet>
<servlet-mapping>
<servlet-name>helloServlet</servlet-name>
<url-pattern>/helloServlet</url-pattern>
</servlet-mapping>
<servlet-mapping>
<servlet-name>helloServlet</servlet-name>
<url-pattern>/helloServlet2</url-pattern>
</servlet-mapping>
|
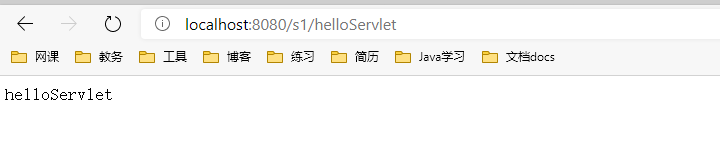
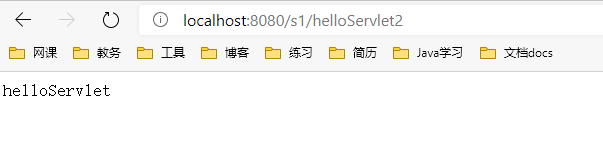
通过http://localhost:8080/s1/helloServlet2和http://localhost:8080/s1/helloServlet访问到的实际上是同一个Servlte对象
Servlet的通配符
通配符有两种
优先级问题
对于不同情况同时出现,看谁的匹配度高就选择谁;*.xxx的优先级是最低的
ServletContext对象
ServletContext对象叫做Servlet上下文,是在Tomcat启动时创建的,也叫域对象,我们的一个web对象对应一个ServletContext,它的作用范围是整个应用。它包含了所有Servlet共享的资源信息,通过一组方法来给servlet使用、用来和servlet容器通讯
常用作用:
- 获取当前工程目录的资源;
- 读取全局配置参数;
- servlet通过servletContext实现通讯;
- 实现servlet的请求转发
servlet之间的通讯实现
创建两个类putName和getName,编写对应的方法,通过ServletContext传递要通讯的数据,使用setAttribute放入数据、getAttribute获取,然后注册对应的servlet,验证
1
2
3
4
5
6
7
8
9
10
11
12
13
14
15
16
17
18
19
20
21
22
23
24
25
26
27
28
| public class putName extends HttpServlet {
@Override
protected void doGet(HttpServletRequest req, HttpServletResponse resp) throws ServletException, IOException {
ServletContext servletContext = this.getServletContext();
String name = "刘义";
servletContext.setAttribute("username",name);
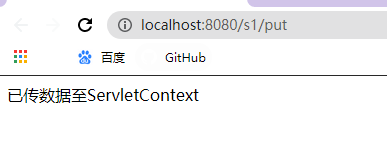
resp.getWriter().print("已传数据至ServletContext");
}
@Override
protected void doPost(HttpServletRequest req, HttpServletResponse resp) throws ServletException, IOException {
doGet(req, resp);
}
}
public class getName extends HttpServlet {
@Override
protected void doGet(HttpServletRequest req, HttpServletResponse resp) throws ServletException, IOException {
ServletContext servletContext = this.getServletContext();
String name = (String) servletContext.getAttribute("username");
resp.setContentType("text/html");
resp.setCharacterEncoding("utf-8");
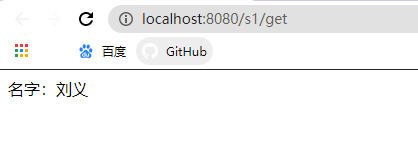
resp.getWriter().print("名字:"+name);
}
}
|
基本模型如下:
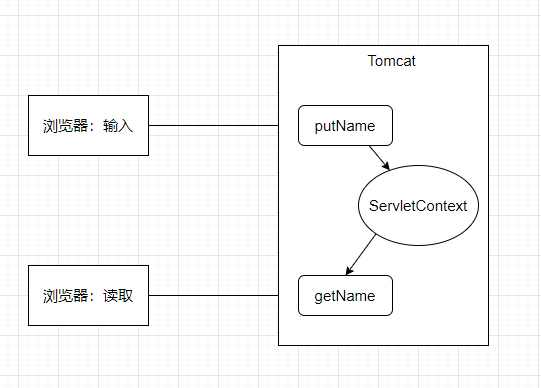
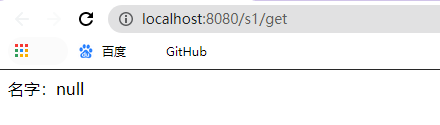
可以看到,先访问http://localhost:8080/s1/get名字是null,然后访问/put后再回到/get就可以看到我们的数据了
servletContext存储数据特点:全局共享,里面的数据所有动态资源都可以写入和获取;服务器启动的时候创建,服务器关闭的时候销毁,因为这是全局应用程序对象,全局共享对象。
获取全局配置参数
要想让所有的servlet都获取数据库的信息,不可能一个个的在web.xml中配置,可以直接使用<context-param>配置使得整个web应用的servlet都可以读取到
1
2
3
4
| <context-param>
<param-name>url</param-name>
<param-value>jdbc:mysql://localhost:3306/mybatis</param-value>
</context-param>
|
getInitParameter(name);–>根据指定的参数名获取参数值getInitParameterNames();//获取所有参数名称列表
1
2
3
4
5
6
7
8
9
10
11
12
13
14
15
16
| public class contextDemo2 extends HttpServlet {
@Override
protected void doGet(HttpServletRequest req, HttpServletResponse resp) throws ServletException, IOException {
ServletContext context = this.getServletContext();
resp.setContentType("text/html");
resp.setCharacterEncoding("utf-8");
String url = context.getInitParameter("url");
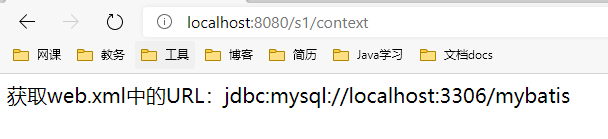
resp.getWriter().print("获取web.xml中的URL:"+url);
}
@Override
protected void doPost(HttpServletRequest req, HttpServletResponse resp) throws ServletException, IOException {
super.doPost(req, resp);
}
}
|
读取资源文件
这里可以尝试一下Response下载文件,在resource目录下加入一张图片,然后编写FileServlet类,获取工程目录下的资源文件。一开始我们不知道对应的目录在哪儿,可以用getContextPath()拿到当前的上下文context路径
1
2
3
4
5
6
7
8
9
10
11
12
13
14
15
16
17
18
19
20
21
22
23
24
25
26
27
28
29
30
31
32
| public class FileServlet extends HttpServlet {
@Override
protected void doGet(HttpServletRequest req, HttpServletResponse resp) throws ServletException, IOException {
String realPath = "G:\\Kuang_JavaWeb\\servlet-01\\src\\main\\webapp\\resources\\leslie.jpg";
System.out.println("下载路径:"+realPath);
String fileName = realPath.substring(realPath.lastIndexOf("\\")+1);
resp.setHeader("Content-Disposition","attachment; "+"filename: "+fileName);
FileInputStream in = new FileInputStream(realPath);
int len=0;
byte[] buffer = new byte[1024];
ServletOutputStream out = resp.getOutputStream();
while ((len=in.read(buffer))>0){
out.write(buffer,0,len);
}
in.close();
out.close();
}
@Override
protected void doPost(HttpServletRequest req, HttpServletResponse resp) throws ServletException, IOException {
doGet(req, resp);
}
}
|

可以看到成功下载了!
上面的路径写死了为绝对路径,如果资源改变了目录那我们又要去改代码,这种情况下就可以用servletContext来做,因为servlet编译后文件应该是放在WEB-INF/classes目录下的,所以可以用servletContext下的getResourceAsStream()方法传递上述目录为参数实现
实现servlet的请求转发
先建一个类,编写对应的代码如下:这里用到的就是servletContext的getRequestDispatcher方法,参数就是要转发的页面
1
2
3
4
5
6
7
8
9
10
11
12
13
14
15
16
17
| public class contextDemo03 extends HttpServlet {
@Override
protected void doGet(HttpServletRequest req, HttpServletResponse resp) throws ServletException, IOException {
ServletContext context = this.getServletContext();
RequestDispatcher dispatcher = context.getRequestDispatcher("/get");
dispatcher.forward(req,resp);
System.out.println("进入了Servlet测试Dispatch中");
}
@Override
protected void doPost(HttpServletRequest req, HttpServletResponse resp) throws ServletException, IOException {
super.doPost(req, resp);
}
}
|
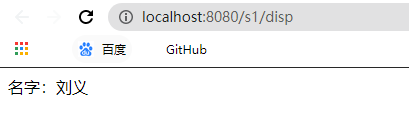
可以看到:网址访问的是http://localhost:8080/s1/disp但是我们进入的是之前的/get的页面!按下F12在控制台中可以看到状态码变化。也可以通过程序输出语句检测它是否确实进入了contextDemo03中,可以在控制台中看到对应的语句输出!
ServletConfig对象
通过ServletConfig对象我们可以读取到web.xml中配置的初始化参数;也可以在一开始配置初始化参数,通过<init-param>去实现
通过配置web.xml对servlet统一管理,实现简化开发的目的